

Floor tiling looks simple from a distance. Walk onto a site where the work was done poorly, and you will see it immediately .. cracked tiles, uneven surfaces, hollow sounds underfoot, and grout lines that are nowhere close to straight.
This guide covers how to lay floor tiles on a concrete floor correctly, from surface preparation all the way to final grouting. Whether you are a tiler, mason, site supervisor, or a student learning the trade, this is what you need to know.
Quick Answer: To lay floor tiles on a concrete floor, the surface must be clean, level, and fully cured. Apply tile adhesive at the correct consistency using a notched trowel, set tiles with spacers, allow 24 hours for the adhesive to cure, then grout and finish.
1. Surface Preparation Is Where the Job Is Won or Lost
Most tiling failures start at the base, not the tile.
Before any tile goes down, the concrete floor must be checked for three things: cleanliness, levelness, and moisture. Any oil, dust, or loose aggregate on the surface will prevent the adhesive from bonding properly. Sweep, vacuum, and if necessary scrub the floor with clean water and allow it to dry completely.
Use a straightedge or a 3-metre levelling rod to check for high and low points. According to BS 5385-3 (the British Standard for wall and floor tiling), the maximum deviation for a floor substrate is 3mm in any 1.8 metres. If your floor exceeds this tolerance, apply a floor levelling compound before tiling. Skipping this step leads to hollow tiles and premature cracking.
For new concrete, allow a minimum curing period of 28 days before laying tiles. Fresh concrete still contains moisture that will compromise adhesion.
2. Choose the Right Tile Adhesive and Mix It Correctly
The adhesive is what holds everything together, so it matters more than most tilers give it credit for.
For internal concrete floors, a cement-based adhesive (Class C1 or C2 per BS EN 12004) is standard. C1 adhesives are normal-setting; C2 are improved-adhesion. For large-format tiles above 300mm x 300mm, always use C2 or better.
If you are mixing adhesive powder with water on site, follow the manufacturer water-to-powder ratio exactly. A mix that is too wet will shrink and lose bond strength. A mix that is too dry will not spread properly. The right consistency is similar to thick peanut butter .. it should hold a notch when you run a trowel through it.
Never mix more adhesive than you can use in 30 to 45 minutes. In warm weather, that window shortens.
3. Set Out Your Tile Layout Before You Stick a Single Tile
Tilers who skip the set-out always regret it.
Before applying adhesive, establish your starting point. Find the centre of the room by snapping two chalk lines at right angles. Dry-lay your tiles from the centre point outward to check the layout. What you are looking for is that the cut tiles at the edges and corners are at least half a tile wide. If your dry-lay shows narrow cuts at one end, shift your starting point.
| Room Width (m) | Tile Size (mm) | Minimum Edge Cut |
|---|---|---|
| 3.0 | 300 x 300 | 150mm (half tile) |
| 3.0 | 600 x 600 | 300mm (half tile) |
| 4.5 | 300 x 300 | 75mm (adjust layout) |
Mark your layout lines clearly on the floor with a chalk line before you start applying adhesive.
4. Apply Adhesive and Lay Tiles Correctly
Apply the adhesive to the floor using a notched trowel. The notch size determines the thickness of the adhesive bed and must match the tile size:
- Tiles up to 300 x 300mm: 6mm notched trowel
- Tiles 300 x 600mm or larger: 10-12mm notched trowel
Back-butter large tiles as well .. apply a thin skim of adhesive to the back of the tile before setting it down. This ensures full contact and eliminates air pockets.
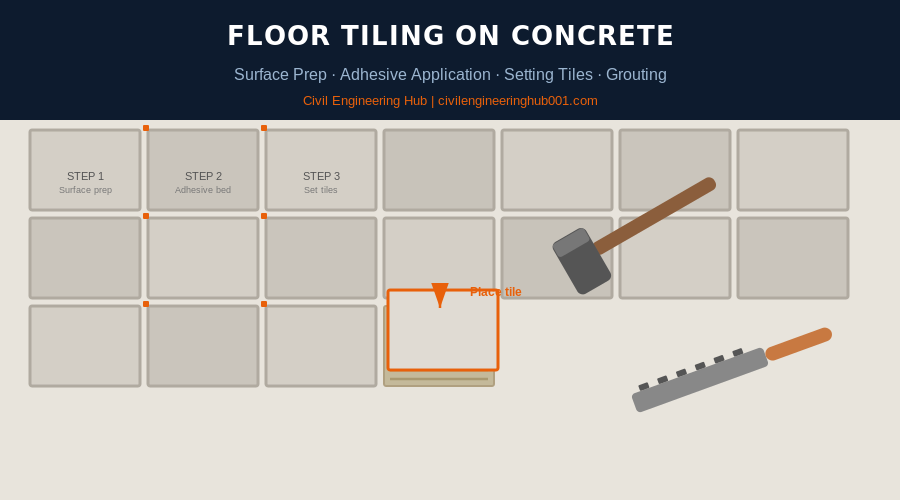
Press each tile firmly into place with a rubber mallet and check it is flush with its neighbours using a spirit level. Use tile spacers consistently to keep grout joints even. Standard joint widths are 2mm for rectified tiles and 3-5mm for non-rectified tiles.
Work in small sections and remove any adhesive that squeezes up into the joints immediately. Once it sets in the joint, grouting becomes difficult.
5. Grouting and Final Finishing
Allow the adhesive to cure for a minimum of 24 hours before grouting, and 48 hours in cool or humid conditions. Walking on tiles before the adhesive has cured shifts them and breaks the bond.
Mix the grout according to the manufacturer instructions. Apply it with a rubber float, working diagonally across the joints to press it in fully. Clean off the excess with a damp sponge before it sets, working in circular motions. Change your rinse water frequently.
Once the grout has set, buff the tile surface with a dry cloth to remove the grout haze. In high-traffic areas, apply a grout sealer to protect against staining and moisture ingress.
A well-laid floor looks even, feels solid underfoot, and produces no hollow sound when tapped. If a tile sounds hollow, it was not fully bedded. That tile will crack under load.
Frequently Asked Questions
Q: How long should you wait before walking on newly laid tiles?
Light foot traffic is generally safe after 24 hours. However, heavy loads should be avoided for a minimum of 72 hours to allow full adhesive cure. In humid or cold conditions, extend this period.
Q: What causes tiles to crack after laying?
The most common causes are inadequate surface preparation, insufficient adhesive coverage, laying tiles on green concrete, and thermal movement without expansion joints. Ensure you include movement joints every 4-5 metres on internal floors, as required by BS 5385-3.
Q: Can you tile directly over an old tile floor?
Yes, in some situations. The existing tiles must be fully bonded with no hollow tiles, clean, and level. Use a suitable adhesion primer and a C2 class adhesive. If more than 20% of the existing tiles are hollow, remove the old floor and start fresh.
Tiling is a trade that rewards patience and precision. Get the surface right, mix correctly, set out carefully, and your floor will last for decades. Rush any of these steps, and the problems will show up within months.
Want more practical construction knowledge delivered directly to you?
Subscribe to our YouTube channel: https://www.youtube.com/@TheCivilEngineeringHub-001
PS: Join our engineering WhatsApp community for daily learning at +254731393520